Visual Studio Code SSH
Introduction
Visual Studio Code, or "VS Code", is a popular code editor. It is very customizable and allows the user to install many extensions. Here we will go over how to set up its SSH extension. This will allow you to have VS Code connect to Sapelo2 so that you can edit files on the cluster with your local instance of VS Code.
Downloading VS Code
If you haven't already, you can download VS Code here. If you're using Windows, you'll almost certainly want to download the 64 bit User Installer.
Installing the SSH extension
When you open VS Code, you'll see on the left the Activity Bar, with several buttons displayed vertically.
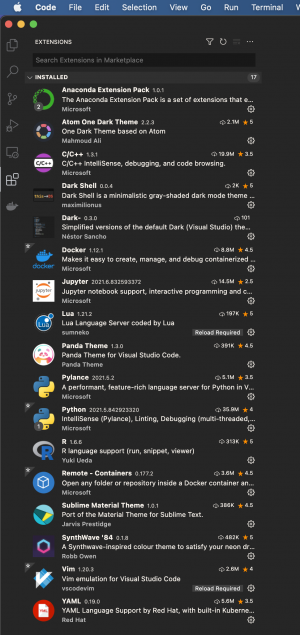
Clicking the button with the four squares opens up the extensions interface in the sidebar. Below you can see some of extensions I already have installed. Some of these are just simply color theme packages, to change syntax highlighting colors. Others provide features relevant to a particular programming language, such as the Python extension providing IntelliSense for Python.
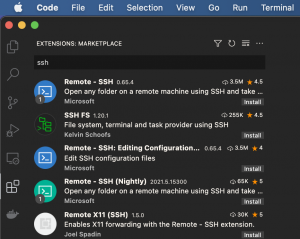
At the top of the extensions interface is a search bar, where you can search for official or community-provided extensions. This is where you could search for the SSH extension, for example. Typically you'll want to install extensions provided by a known source, such as Microsoft in this case (the first option), and/or an extension that has many downloads and a high rating, as shown in this search output.
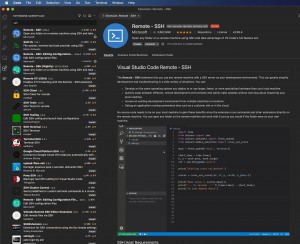
Once you find the extension you want, all you have to do is click the small "Install" button in the search output, and a tab will open in your editor with more information and instructions on how to use the extension that you have installed.
Using the SSH Extension
You can hide the sidebar if you wish with cmd + b on Mac and ctrl + b on Windows. Once the SSH extension is installed you will see this small greater than & less than button in the bottom left corner of VS Code.
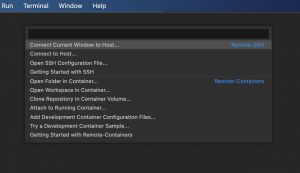
Upon clicking that small SSH button in the bottom left, a prompt window will appear in the top middle of VS Code, asking how you want to connect to whatever it is you're going to SSH. Select the first option, "Connect Current Window to Host...".
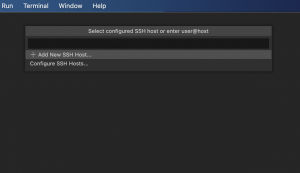
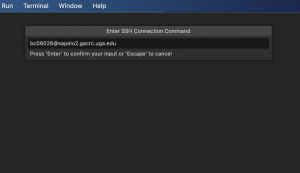
Next, click the "Add New SSH Host..." option, and type your MyID@sapelo2.gacrc.uga.edu in the prompt, and then press enter.
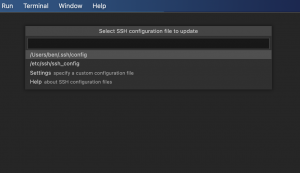
If it asks you what SSH config file to update, you can just choose the first option.
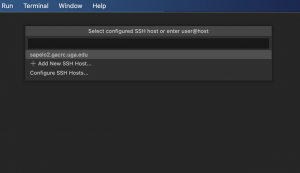
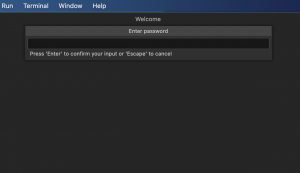
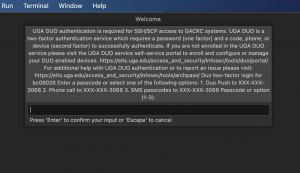
The prompt will then disappear, but now you can click the small SSH button in the bottom left of VS Code and see that your connection has been saved, you don't have to type it every time. Click the Sapelo2 connection to then be presented with a password prompt. This just wants your MyID password, as if you were normally connecting to Sapelo2 via PuTTY or your terminal. Then you will get an ArchPass DUO prompt. You can respond to this with a 1 for a push notification to your phone, or however you normally authenticate with ArchPass DUO.
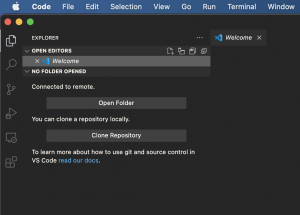
Once you approve the connection request via DUO, you're connected to Sapelo2! To open up a particular directory on Sapelo2, click the button on the side part that looks like two pieces of paper, which will open the explorer interface within the sidebar.
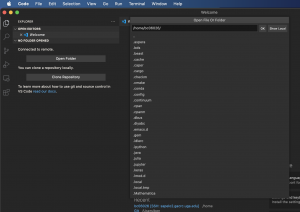
Click the "Open Folder" button to then be presented with a prompt where you can enter any path on Sapelo2 to which you have permission to access.
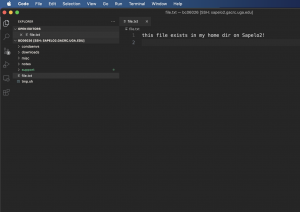
In this example, I've opened my home directory in the side bar. It presents it as a file tree that I can navigate graphically. Directories can be expanded by clicking them. Files can be opened in VS Code by double clicking them, as you can see here, with this file.txt in my home directory.
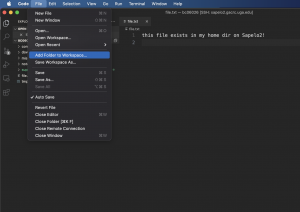
You can open multiple directories on Sapelo2 in the sidebar of VS Code by clicking the "Add Folder to Workspace" option in the File menu.
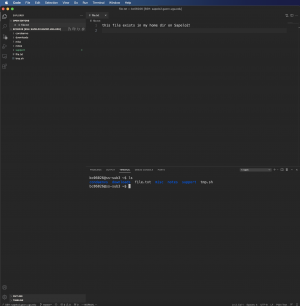
I highly recommend toggling the Terminal in VS Code, which will allow you to interact with Sapelo2 as you normally would from within VS Code. To do this, click "Terminal" under the View menu. This will open up a terminal in the bottom half of the editor. You can enter any command as you normally would on Sapelo2.
