OnDemand: Difference between revisions
No edit summary |
No edit summary |
||
| Line 82: | Line 82: | ||
* Delete files | * Delete files | ||
To manage existing files and/or directories, simply click the square select button to the left of the corresponding file(s) or directory(ies) and click the button for the action you would like to take. Clicking on a directory will navigate the OOD file browser to that directory. Clicking on a text file will open a new read-only window, displaying the file. If you would like to edit a file from within OOD, click the three-vertical-dots button to the right of a file name, and then click "Edit". This will open a new tab that allows you to edit and save changes to a file. The OOD file editor has a plethora of different syntax highlighting options. If the file you're editing has a file extension in its name for which OOD has syntax highlighting, it will pre-select that option, however you can change the syntax highlighting by selecting a different option from the "Mode" drop down menu at the top. Additionally in the top menu of the OOD file editor, you can change the font size, as well as select a different display theme. | To manage existing files and/or directories, simply click the square select button to the left of the corresponding file(s) or directory(ies) and then click the button for the action you would like to take. Clicking on a directory will navigate the OOD file browser to that directory. Clicking on a text file will open a new read-only window, displaying the file. If you would like to edit a file from within OOD, click the three-vertical-dots button to the right of a file name, and then click "Edit". This will open a new tab that allows you to edit and save changes to a file. The OOD file editor has a plethora of different syntax highlighting options. If the file you're editing has a file extension in its name for which OOD has syntax highlighting, it will pre-select that option, however you can change the syntax highlighting by selecting a different option from the "Mode" drop down menu at the top. Additionally in the top menu of the OOD file editor, you can change the font size, as well as select a different display theme. | ||
== Jobs == | == Jobs == | ||
Revision as of 14:51, 25 August 2021
Open OnDemand (OOD)
Open OnDemand ("OOD") is a web-based service provided by GACRC which provides users an alternative and/or complimentary method to access the HPC Clusters. It helps computational researchers and students efficiently utilize remote computing resources by making them easy to access from any device, via a convenient web interface. Through Open OnDemand, graphical applications can be utilized on the cluster far more easily and smoothly than using X11 Forwarding. It also helps computer center staff support a wide range of clients by simplifying the user interface and experience.
OOD Features:
- Job submission and monitoring
- File transfer and management
- File editing
- Shell access
- Graphical Desktop on the cluster
- Interactive Applications
| Cluster | Phase | URL |
|---|---|---|
| Sapelo2 | Beta Testing | https://ondemand.gacrc.uga.edu |
| Teach | Future | N/A |
How to access Open OnDemand
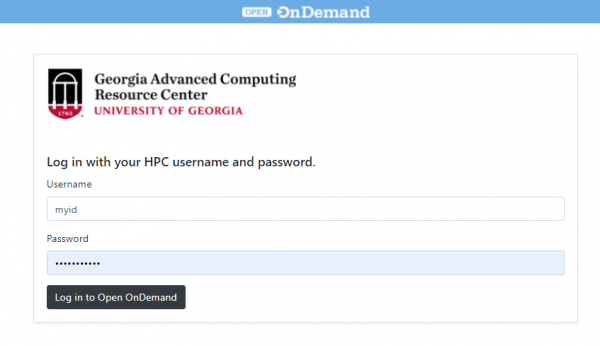
In order to access the GACRC OOD login page, You must be connected to the UGA Network, either directly or by VPN. Logging in requires a GACRC Cluster Account.
- Open a web browser to the cluster's Open OnDemand URL. For example: https://ondemand.gacrc.uga.edu
- Login with your UGA MyID credentials
Browser Requirements/Notes
To have the best experience using OnDemand, use the latest versions of Google Chrome, Mozilla Firefox or Microsoft Edge. Use any modern browser that supports ECMAScript 2016. Google Chrome has the widest range of support since the Shell App uses hterm.js which is supported officially by Google. Chrome currently is the only web browser that natively supports the copy and paste functionality in noVNC. Other browsers can do copy and pasting manually through the noVNC tool drawer. Safari users may have issues when using the Shell App or noVNC. There is no IE 11 support.
Using Open OnDemand
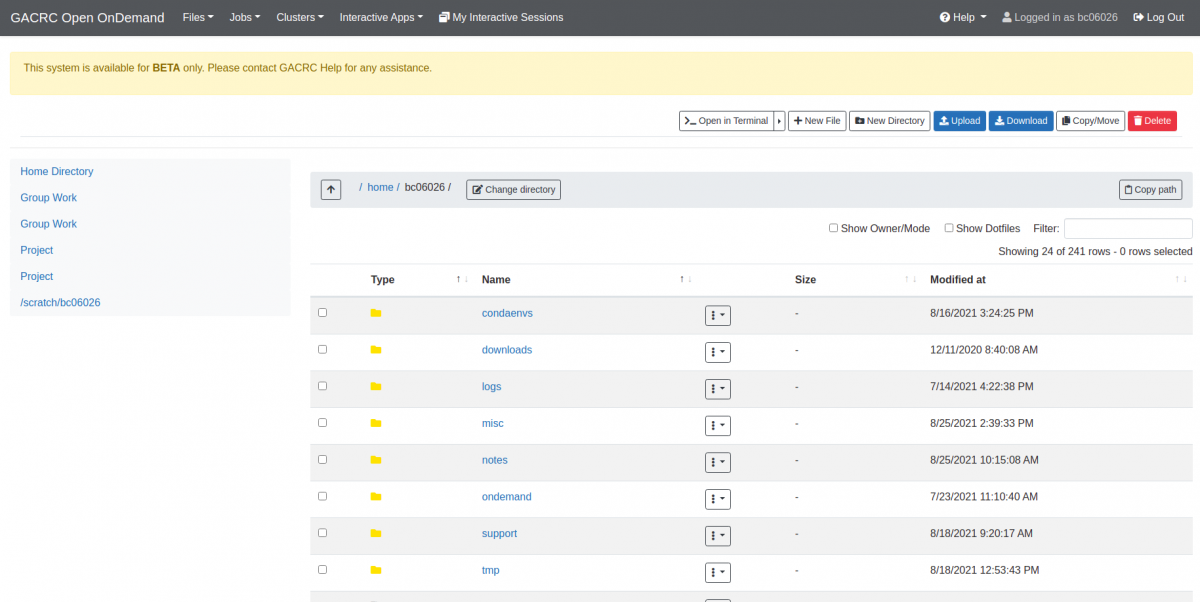
Upon logging into Open OnDemand, all of its tools can be accessed via the links in the top menu bar.
Files
Clicking "Files" in the top menu bar will open a drop menu that displays yours and your lab's directories on the cluster. Clicking any of those displayed directories will take you to a new page that allows you to manage the directories contents, as well as navigate to other directories on the cluster to which you have access.
In the above Files interface, there is a menu above the file browsing area that allows you to:
- Open an interactive shell in the current directory
- Create a new file
- Create a new directory
- Upload files
- Download files
- Copy/move files
- Delete files
To manage existing files and/or directories, simply click the square select button to the left of the corresponding file(s) or directory(ies) and then click the button for the action you would like to take. Clicking on a directory will navigate the OOD file browser to that directory. Clicking on a text file will open a new read-only window, displaying the file. If you would like to edit a file from within OOD, click the three-vertical-dots button to the right of a file name, and then click "Edit". This will open a new tab that allows you to edit and save changes to a file. The OOD file editor has a plethora of different syntax highlighting options. If the file you're editing has a file extension in its name for which OOD has syntax highlighting, it will pre-select that option, however you can change the syntax highlighting by selecting a different option from the "Mode" drop down menu at the top. Additionally in the top menu of the OOD file editor, you can change the font size, as well as select a different display theme.
Jobs
Clicking "Jobs" will open a drop down menu allowing you to navigate to "Active Jobs" or "Job Composer". In the Active Jobs interface, you're able to view information about your currently running jobs.
Clusters
Interactive Apps
My Interactive Sessions
Additional Notes
Per User Experience
OnDemand will spawn a Per User Nginx session upon successful login. This means that each connection on the OOD server is running as that particular user. Each session is completely separated from other users sessions.


